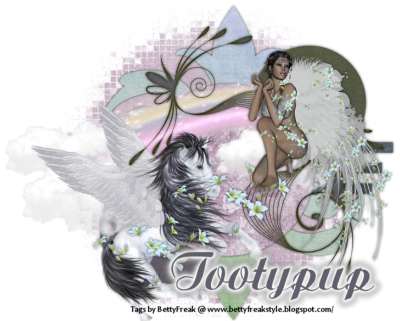
 I wrote this tutorial on Feb. 28th, 2010. This is my own creation using scrap kit by Tootypup and Template by me. Please do not copy or claim this tutorial in anyway.
◘
§ Supplies §
•
♦PSP 9, any newer version will do.
♦Template HERE
♦PTU Scrapkit Living In a Dream by Tootypup HERE
◘
§ Notes §
•
This tutorial assumes you have a working, knowledge of PSP and all its supplies.
◘
§ Lesson §
•
~Open Template, delete copyright.
~Go to Mask layer
Selections>Select All>Float>Defloat.
~Copy Paper 9 and Paste, resize 80%
Selections>Invert, delete. Ctrl + D and delete Mask Layer.
~Go to Lines
Selections>Select All>Float>Defloat
~Copy Paper5 and Paste, resize 80%
Selections>Invert, delete. Ctrl + D, add DS 0, 0, 70, 7.00 Black
Delete Lines
~Go to Doodle
Selections>Select All> Float>Defloat
~Copy Paper8 and Paste, resize 80%
Selections>Invert, delete. Ctrl + D, add DS and Delete doodle.
~Go to SmLeftCircle
Selections>Select All>Float>Defloat
~Copy paper13 and Paste.
Selections>Invert, delete. Ctrl + D, add DS and Delete SmLeftCircle.
~Do the Same for the SmRightCircle, using same paper.
~Do the same for LgCircle, using paper 2.
~Copy angel4 and Paste, resize 70%, add DS.
~Copy Rainbow1 and Paste, resize 70%, Move this layer under the angel layer.
~Add Name & Copyright
~Crop, resize and Save as .png


0 comments:
Post a Comment