Scrap Kit by Randy's Sin at
called Days of Summer
Template by www.blissfullybeth.blogspot.com

 This Tutorial was written on Feb. 5th, 2010. This is my own creation, using Template by Elegantly Wasted and Scrap Kit by Baby Cakes Scraps.
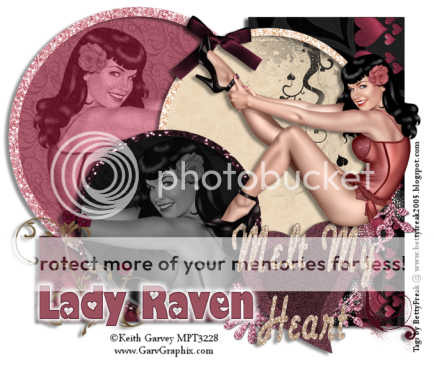 This tutorial was written by me, on Jan. 12th, 2010. This is my own creation, using Template by Missy & Rachel @ Divine Intentions and Scrap kit by Lady Raven @ Dazzling Scraps Store. Please do not copy this tutorial in any way.
 I wrote this tutorial on Dec. 13th, 2009. This is my own creation, using a Template by Elegantly Wasted and Scrap Kit by Angels Designz. Please not copy this tutorial in any way.
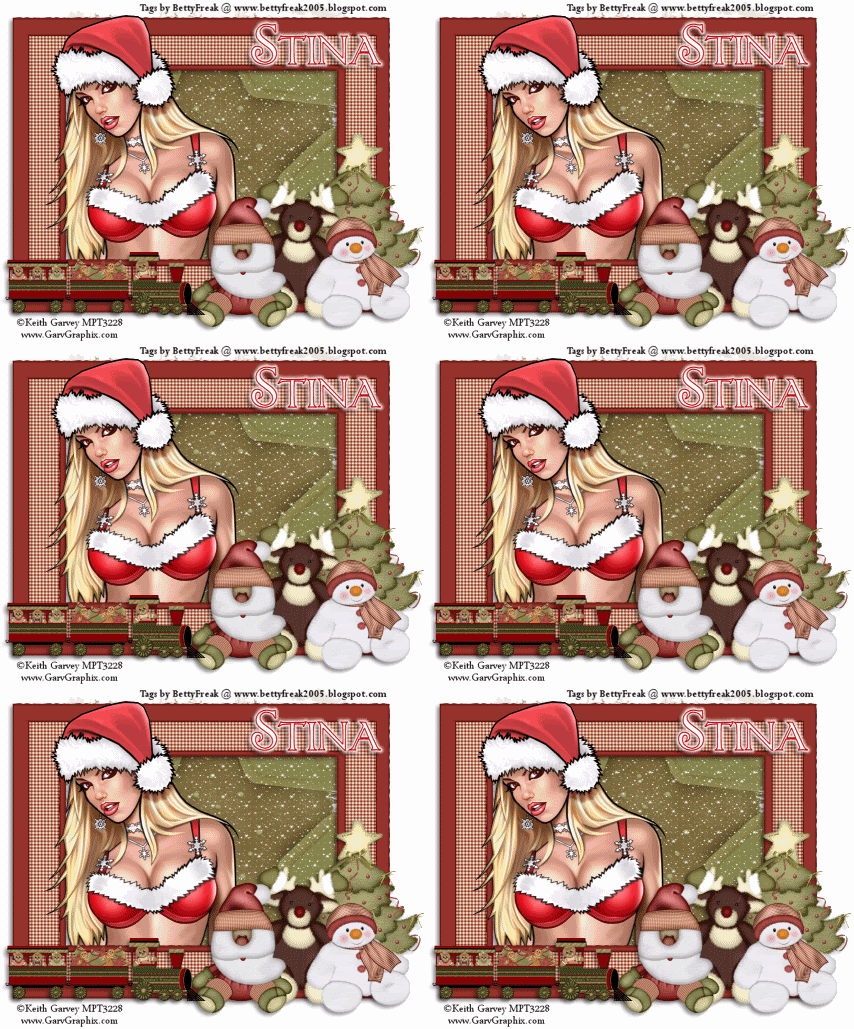 This Tag was made with a kit, called Cinnamon and Cookies by Designs by Stina.
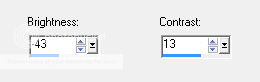
 It should now be grey. Go to Adjust> Brightness and Contrast, use the following settings:
  You should now have a more darker B&W image.
On Frames Layer, go to Selections> Select All> Float> Defloat
Edit> Copy the other paper (pink checkered), that you minimized earlier. Go back to working image. Edit> Paste as New Layer. Hold down Shift + S, Resize 70%. Selections> Invert, hit delete. Give same dropshadow we used before. Delete Frame layer and name the new raster layer Frame.
On bars layer, Selections> Select All> Float> Defloat. Open paper 5, Edit> Copy, Edit> Paste as New Layer in working image. Selections> Invert, hit delete. Selections> Select None. Give it same dropshadow. Delete bars layer.
On masked layer, Selections> Select All> Float> Defloat. Open paper 3, Edit> Copy, Edit> Paste as New Layer on working image. Selections> Invert, hit delete. Selections> Select None. Delete mask layer and rename the raster layer mask.
Rename layer 1, background.
Go to the top of the layer paletter and have your circles layer highlighted. Go to your tube, Edit> Copy, Edit Paste as new layer, in working image. Resize if you need to.
Got to kit and open Ipod 1. Edit> Copy, Edit> Paste as New Layer. Shift + S, Resize 60%, add dropshadow. Got to Image> Rotate> Free Rotate Right 30.00 (both boxes unchecked), click ok. Postion to the right, bottom corner. Click Adjust> Sharpness> Sharpen.
Open Label 5 from kit. Edit> Copy, Edit> Paste as New Layer. Shift + S, resize 60%. Add a dropshadow. Go to Image> Rotate> Free Rotate this time to the left. Click Adjust> Sharpness> Sharpen. Postion to the left, use mine as a refrence.
Open both music notes for the kit and resize them to 10%. Edit> Copy music note 1 and Edit> Paste as a New Layer. Position to the upper left. Do the same with music note 2. With music note 2 use your Raster Deform tool, in your took car. Turn it slighty to the right. Click Adjust> Sharpness> Sharpen. Merge (merge down) these 2 layers.
Duplicate the merged music, three times for a total of 4. Position them in different areas of the tag.
Now add your Name and Copyright info.
If you do not want to Animate, merge all, Shift+ S and resize 400x400 pixels. Save as .png
If you are going to animate Merge All Layers EXCEPT, circles, frame, bars, mask and background.
ANIMATION:
Duplicate your circles layer2 times for a total of 3. X out the top 2 layers. Have the original layer highlights. Click on Effects> Plugins> Xero> Fritillary. Apply these settings, exccept the Variations make it 10. Do this with the other 2 layers, but change the variations to 20 and 30.

Do this with the other 2 layers as well.
Your Layer Palette should now look like the one below:
With the 3 layers (circles, frame and mask) made, keep the 2 duplicated x'd out. Go to Edit> Copy Merged, take over to Animated Shop and Edit> Paste as New Animation.
Back to PSP X out the original and un-X copy 1 on all three, Edit> Copy Merged. Back to Animation Shop, right click on image, Paste> After Current Frame.
Back to PSP to Copy the Last Layer (remeber to close off the one just copied and un x the one you need open). Take to AS and right click on image, Paste after Current Frame.
Hold Down Shift + S and Resize to 400x400
Click on View Animation
Save as a .gif and Viola'
Your Done.
I hope you have enjoyed this tutoria. It is my very first.
Thank You.



 BettyFreakStyle@yahoo.com. If you have any ?'s or concerns, about any of my tutorials, please contact me.
Thank You
BettyFreakStyle@yahoo.com. If you have any ?'s or concerns, about any of my tutorials, please contact me.
Thank You